Magellan RoadMate 5320 LM User Manual
Browse online or download User Manual for Navigators Magellan RoadMate 5320 LM. Magellan RoadMate 5320 LM User's Manual
- Page / 37
- Table of contents
- BOOKMARKS
- Magellan 1
- RoadMate 1
- IMPORTANT SAFETY WARNINGS 2
- FCC Caution: 3
- Table of Contents 5
- Magellan RoadMate 10
- Fundamentals 2 11
- Accessing the Main Menu 13
- Selecting From List 14
- Map Screen 3 16
- Changing Route Options 19
- OneTouch Menu 4 20
- Selecting a Destination 5 22
- Points of Interest (POI) 6 26
- Traveling on a Route 7 28
- Cancelling a Route 29
- Detouring off a Route 29
- Traffic 8 30
- Bluetooth 9 31
- Answering a Call 33
- Hanging Up 33
- Entering Numeric Data 33
- Settings 9 34
Summary of Contents
User ManualMagellan RoadMate®
2Magellan RoadMate (A) Power Switch(B) micro SD card slot. (not available on all receivers) The microSD card is available for accessing optional map
3Fundamentals 2Powering on the Magellan RoadMate receiverThe Power On/Off switch is located on the top of the Magellan RoadMate receiver.Turning the M
42. The battery level indicator is located in the upper right corner of the Main Menu, just below the satellite signal indicator. Green bars indicate
5Main MenuThe Main Menu screen is the center for all available functions of the Magellan RoadMate receiver. The Main Menu contains large, easy to acce
6Previous Previous destination list (Enter City only) When entering a city, the previous destinations list displays a list of cities previously entere
7 If the city is correct, tap the button to continue.The button can be tapped to display the list of cities that begin with the letters entered.Qu
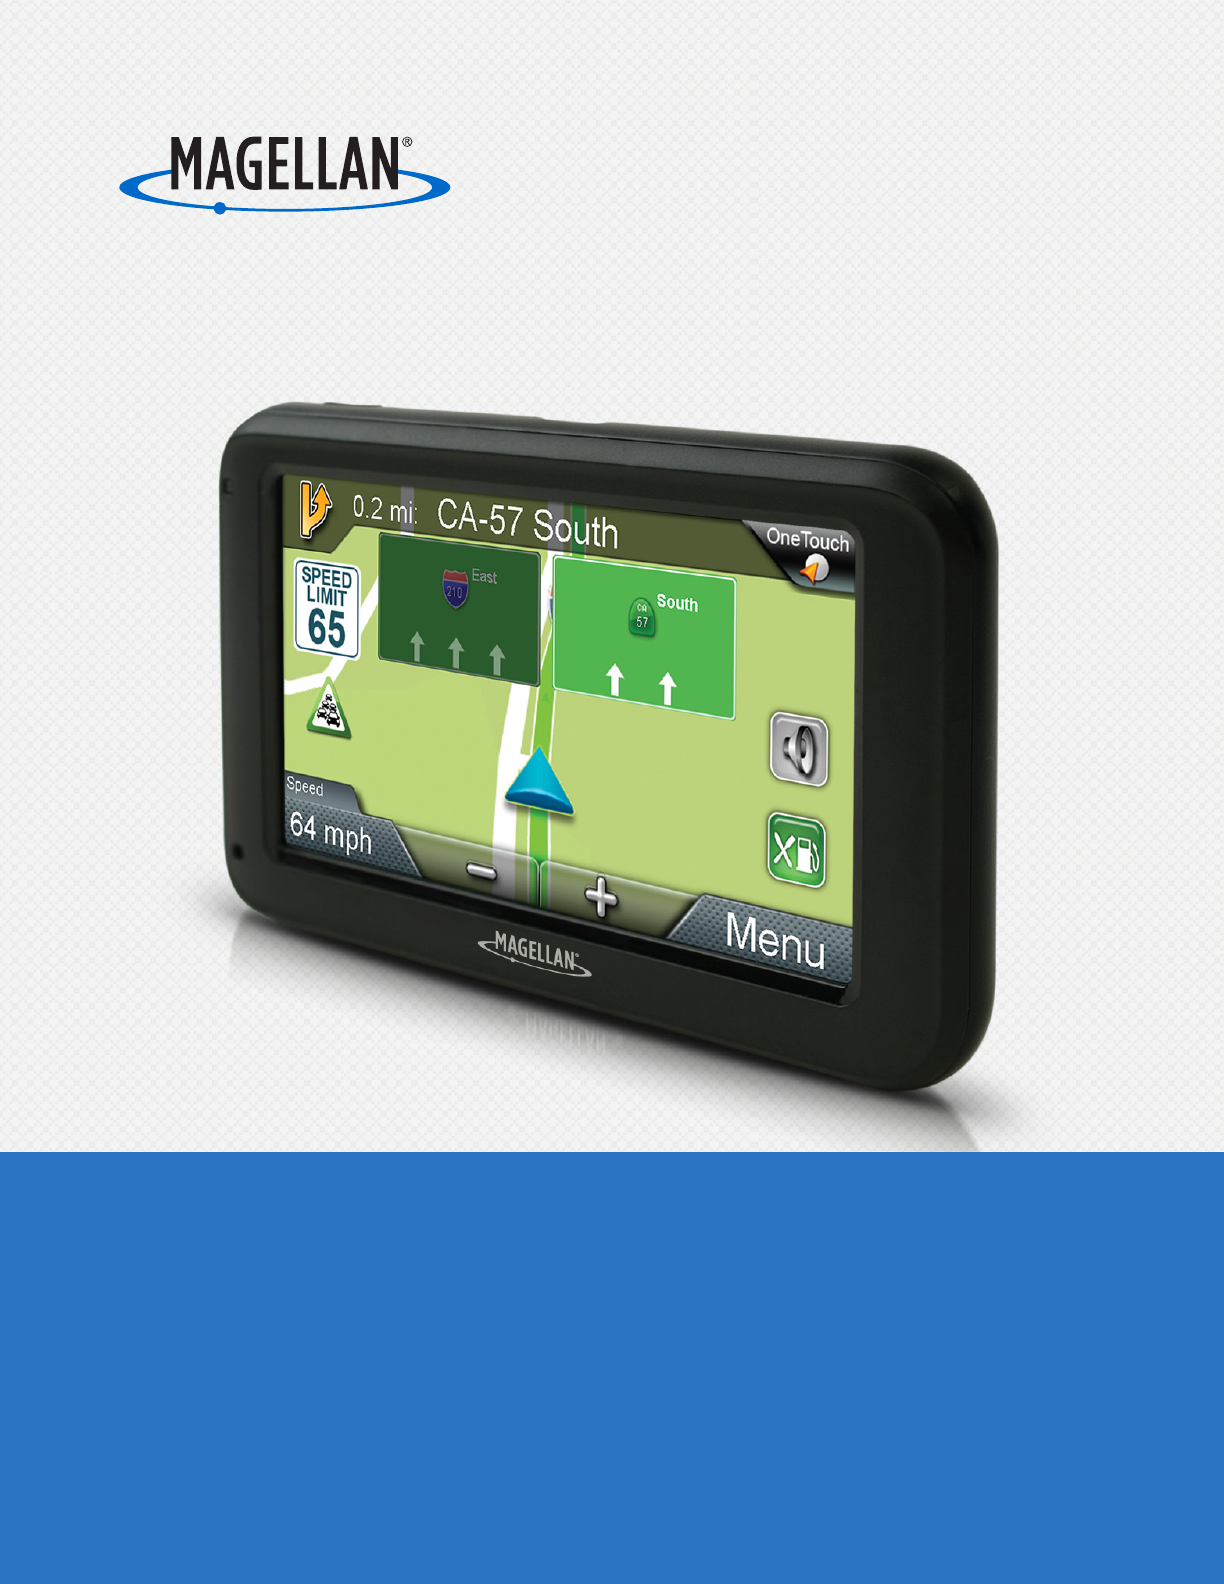
8Map Screen 3The most commonly used screen is the Map screen. Whether you are following a route or just traveling around a city, the chances are that
9Setting the Map OptionsHow your map is displayed can be customized in Settings to your preferences.1. From the Map screen, tap the MENU button.2. T
10route point: Replace Destination: the next destination is cleared and replaced with the one selected from the Pan screen.Go There Now: the selected
11you want to avoid.3. Tap Yes to confirm.4. The Magellan RoadMate receiver recalculates the route and the Map screen is displayed.Changing Route Opt
IMPORTANT SAFETY WARNINGSKeep the Magellan RoadMate receiver safe from extreme temperature conditions. For example, do not leave it exposed to direct
12OneTouch Menu 4The OneTouch™ menu provides quick access to your home address, emergency services, gas stations and addresses or searches you have s
13Saving a POI Search Criteria to a OneTouch IconBesides frequently visited destinations, you can also save POI search criteria to a OneTouch button.
14Selecting a Destination 5Creating a Destination to an AddressWhen creating an address, the first step is to enter the city.The city can be specified
156. The GO screen appears with the address of the selected location, the estimated time of arrival (ETA), the distance to travel, and the routing me
16(optional) Tap Options if you want to change the routing method.6. Tap the large GO button on the right to return to the Map screen and begin routi
17to enter a name for the address book entry. (optional) Tap <Work, Cell or Home phone> to specify a phone number for the address book entry.(op
18Points of Interest (POI) 6The Magellan RoadMate receiver has preloaded POIs that can be used as a destination for a route. Selecting a restaurant o
194. POIs near your current position are displayed. You can tap “Near” for different search criteria (Near Current Position, Near City, or Near Addre
20Traveling on a Route 7Map ScreenWhen a route has been calculated, it will be displayed on the Map screen in green with small arrows indicating the
21different methods.1. Tap on the icon to view the maneuver list for the route method desired.2. Tap the desired routing method in the list, and the
recommended that you charge the battery initially for at least 2 hours.Use only the charger approved for your Magellan RoadMate receiver.Estimated usa
22Traffic 8GlossaryRDS: Radio Data System. Infrastructure that broadcasts digital information on the FM band.TMC: Traffic Message Channel, one of the ty
23Bluetooth 9Please note that not all of the features of the Magellan RoadMate Bluetooth will work with all phones as features of cellular phones vary
24Pairing Additional Bluetooth-ready Phone1. Access the Bluetooth Settings screen.2. Tap Pair Phone Now.3. Follow the instructions above for pairin
25Answering a Call1. When your phone gets an incoming call, the Magellan RoadMate displays an Answer Phone screen. Tap the green button to answer the
26Settings 9With user Settings you can customize the Magellan RoadMate receiver to better suit your personal needs and preferences.Note: Tapping the B
27SoundSetting Volume from Settings1. From the Main Menu screen, tap the Settings icon. 2. Tap Sound.3. Tap inside the volume slider bar to set the
28BrightnessSetting Brightness1. Access the System Settings menu (above).2. Tap Brightness.3. Tap in the brightness slider to set the brightness of
29Time FormatSetting the Time Format1. Access the System Settings menu (above).2. Tap Time Format.3. Tap on 24 Hours or 12 hours with am/pm.4. Tap
IMPORTANT NOTE:IC Radiation Exposure Statement:This equipment complies with IC radiation exposure limits established for an uncontrolled environment.
iTable of ContentsMagellan RoadMate GPS Receiver ...1Fundamentals ...
iiAvoiding a Maneuver ... 10Changing Route Options ...
iiiDetouring off a Route ... 21Traffic ...
ivUnits of Measure .......26Selecting Units of Meas
1Magellan RoadMate GPS Receiver The Magellan® RoadMate® receiver is a vehicle navigation product that utilizes GPS signals from satellites to calculat
Related products and manuals for Navigators Magellan RoadMate 5320 LM
 (68 pages)
(34 pages)
(68 pages)
(34 pages)
 (123 pages)
© 2020, manymanuals.com. All rights reserved. | 3.905 s |
 Manymanuals.com
 Manymanuals.de
 Manymanuals.fr
 Manymanuals.it
 Manymanuals.pl
 Manymanuals.cz
 Manymanuals.es
 Manymanuals-pt.com
Comments to this Manuals